
fUsually, people install carpets as floor covering in their homes to give their living space an attractive and luxurious look. Speaking about the carpet flooring, Installing Carpet Over Underpad is or ham the best way, not only to add charm to the beauty of your home decor but also to make the lifespan of your carpet much longer.
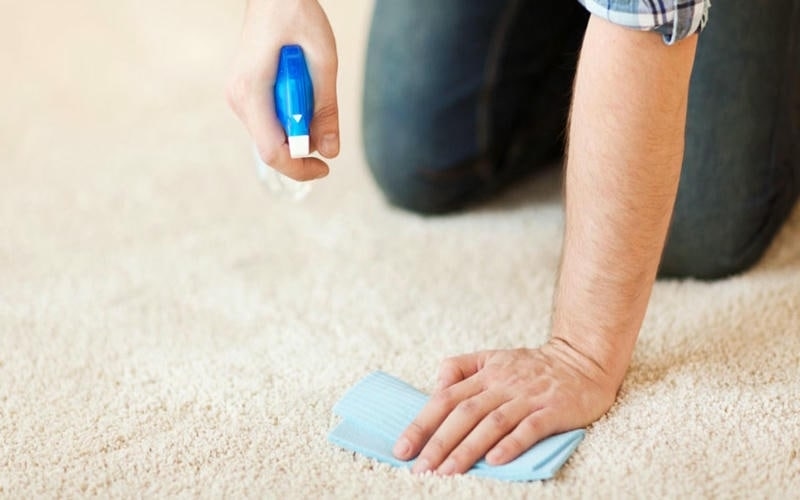
When your carpet has padding underneath, it will become a much more secure spot for the kids to play, i.e. save your kids to get themselves injured while playing. Also, Installing Carpet Over Underpad makes the surface of your carpet Dubai much softer and cozier, hence, providing you a very comfortable environment. Here is the complete step-by-step guide of installation of the carpet over the underpad which will help you to install it in no time.
Steps to Installing Carpet Over Underpad
These easy and simple steps will help you in Installing Carpet Over Underpad if you follow them accordingly. Making your living space comfortable with the flooring is, no doubt, the best idea, but you must know how to perform this task without hiring any professional services, and wasting a lot of money. So, let’s have a look at these steps given below to install your carpet over the underpad at your place.
1. Do Measurements in Order to Installing Carpet Over Under Pad
Before you do the installation of the carpets Dubai at your place, measure how much carpet do you exactly need. Because, if you are going to get the carpet without having measurements of your area, there will be a lot of chances that you get the carpet shorter or much additional than your space requirements, which in both cases, a waste of your money. So, in order to Installing Carpet Over Underpad, first, take the measurements of your room accurately.
Then, the important thing is to decide, if you are going to lay the carpet with already installed padding or having back cushioning in it. Or, you are going to lay the padding separately on the floor, then install the carpet over it. Because, if you are going to install the carpet, having back cushioning in it, then it can simply get glued directly on the floor without any mess, and get stapled around the perimeter of your room.
2. Install Tackless Before Installing the Underpad
If you are going to replace the carpet without having back cushioning, at your place, there might be some tackless strips you will see, which can be reused in the installation of your new carpet over underpads.
If some of them cannot be reused, you can install the new ones in place of existing ones. But, make sure you install them at the same place at which the existing ones were installed, and try to nail them in the new spot for the secure grip.
But, if you are going to Installing Underpad for the first time or at a new place that has never been carpeted before. There, you need to install the tackless first. Install all the strips around the perimeter of that space, with the nails facing towards the walls. This step should be done before laying the underpad, in order to prepare the area for the installation of a new floor covering.
3. Lay the UnderPad Properly
Once you are done with the installation of tackless strips over that whole area around its perimeter, now it’s time to lay the underpad for your carpet. People usually get confused about which side should go up, of the underpad.
There is no need to get confused because the underpad has one of its sides quite shiny and smooth which has to face in an upward direction. The reason to have its shiny surface upward is to make the installation process of carpet over underpads easier.
Underpads, generally come up with a much shorter width than the width of the carpet, i.e. 6 feet wide (which is really very short in the comparison of the carpet width). So, you need to lay more than one piece of it in order to Installing Carpet Over Underpad. Now, roll out the underpad to the longest length and bring it to the inside edge of the tackless strip. Secure it by stapling around the perimeter and tape its junctions with duct tape.
4. Install the Carpet Over Underpad
After doing all the above-mentioned steps, now you are ready to get your carpet installed over the underpad, thus, giving your place a whole ravishing look. Roll out your carpet pulling out some extra to the walls carpets, and cut off that extra piece with the help of any utility knife or a wall cutter.
Perform this task, by cutting the strips of your carpet. Make sure you leave enough pieces of each carpet strip to get stuck inside the edge of the tackless strip.
Coming forward, stretching is the most important in the whole installation process of the carpet over the underpad. You can do that task with the help of some power stretchers. Stretch the carpet along with all the walls of the room and in every direction.
5. Seam the Carpet and Get the Task Done
When you lay the carpet, you might have done this task in the form of strips. Now, it’s time to join the strips together. For this task, you will need carpet seaming tape, because it doesn’t require any heat to work and gives a suitable hold. But, for the high-traffic area, you will need a professional heat bond tape in order to get this task.
After that, roll a seam roller over it for a nice finishing touch. The roller will help to minimize the appearance of the seam and give a more secure hold. On the seaming tape. After you are done Installing Carpet Over Underpad, check if the carpet is tightly stretched with no wrinkles or bulking. Then, vacuum it up to give a neat and clean look.
To Conclude
In the end, I will recommend you, follow these steps and get your carpet installation perfectly done over the underpad. These easy and simple steps are the complete guide to install the carpet at your living place, making it more comfortable and look adorable.


